Step 1: Prepare the paste and the newspaper strips (courtesy of SFU's newspaper, The Peak).

Step 2: Cover balloons in strips of gooey paper.

Step 3: Repeat step 2.

Step 4: Hang your creations to dry.

*****WARNING*****
Papier mache takes a long time to dry! Longer than you could ever imagine! Please prepare your craft well before it's needed.
After a day and night of drying (with only two layers) it's time to paint.
Step 5: Paint a base coat.
Note - If you have lame paints like I do (Crayola washables from Superstore bought the night before 10 minutes to close) it will take a few coats of paint to cover the newspaper satisfactorily.

Step 6: Let dry.
*******WARNING******
Having to do several coats of paint will probably leave you behind schedule if you don't plan for it. Please prepare your craft well before it's needed.
If you have run out of time like I did (a couple of hours before we were supposed to head over to my sister's for Easter dinner I was still applying base coats) the best project you can probably do is an Easter egg. The bunnies require more time and effort, unfortunately.
Step 7: Apply designs onto egg.
Step 8: Fill with candy.
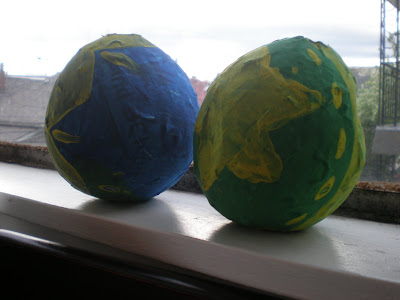
It's no lie that I'm ashamed of my Easter balls (that look nothing like eggs) however hopefully someone can learn from my mistakes; hence, pictures and a detailed record of my bungles.
I ended up putting them in a plastic bag to take over to my sister's while the paint was still drying so they got a bit smudged. However, the candy inside the eggs made up for the deficiencies in aesthetics and my nieces were happy. Success!!


Here are a few photos of the lovely Easter dinner Amelia provided. She's quite the host. Happy Easter!


You're right- they don't look much like eggs. :) That Easter dinner looks fantastic, though! Wish I could have been there to partake (and not just of the food).
ReplyDelete